Help! I didn't get installation instructions with my flooring purchase. If you bought vinyl flooring, laminate or engineered hardwood flooring and did not get any installation instructions, don't worry. Here is a quick video tip to help you out.
Installation is standardized. Most professional installers I know follow the same rules and process. That is because it is a standard process. Do not panic if you did not get install instructions with your flooring purchase. Its all good... help is near by.
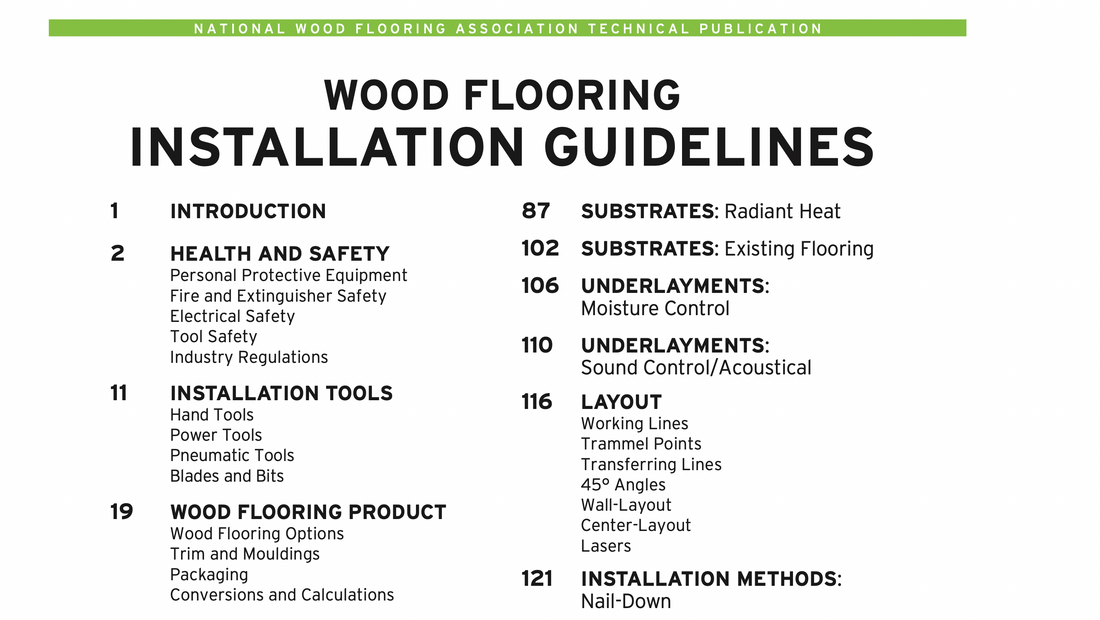
The fast answer: Search NWFA flooring install on Google. Here is the top result, and it includes everything you need. NOTE: I can NOT speak for your supplier and this tip and the following details are guidelines only.... always check with your particular supplier or factory and ensure how you install does not void any warranties. This is a general guideline to help you have a successful install, but I can not speak for your warranty and you are responsible for any work you complete.

NWFA says the same:
The National Wood Flooring Association assumes no responsibility and accepts no liability for the principles
or techniques contained in these guidelines/methods. These guidelines and methods for the installation of wood flooring were developed by the NWFA Technical Publications Committee, together with leading industry authorities, through review of longstanding installation principles, along with research and data regarding wood flooring installation. These guidelines and methods address a variety of ancillary products and components related to the installation of wood flooring, but are not intended to address issues arising to or from those components directly.
Here is a portion of the installation guidelines for floating floor install (most vinyl and laminate (and some engineered hardwood) is installed with a floating floor installation. Here is a good reference points:
PART V
Floating-Floor Installation
-
Remove all doors and shoe mouldings.
-
Layout will determine the overall appearance of the floor. Plan the layout to avoid the
final row being too narrow and for transition placement. -
After determining the direction to run the flooring, measure the width of the room (the dimension perpendicular to the direction of
the flooring), and divide by the width of the flooring planks. The last row of the flooring should be no less than 2” wide (unless otherwise dictated by the flooring manufacturer), unless the entire job layout doesn’t allow. Adjustthe width of the starter row to avoid a narrow last row where possible.
-
Install the manufacturer-recommended underlayment material as required by the underlayment and flooring manufacturers.
-
Racking
-
When racking (or laying out the floor)
prior to installation, be sure to work from multiple bundles or packages to ensure variation. Distribute lengths randomly and pull from multiple bundles/packages.
-
Flooring warranties do not typically cover materials with visible defects once they are installed. Installation is acceptance of product aesthetic quality.
-
End joints of adjacent planks should not be installed in close proximity to each other. In general, end-joint staggering row-to-row should be a minimum of twice the width
of the flooring planks being installed. For example, a 5” wide plank would require a 10” stagger row-to-row.
-
Avoid “H” patterns when possible and avoid any discernible pattern in adjacent runs such as equal end-joint offsets on sequential rows and blatant stair-steps, unless otherwise directed by the flooring manufacturer.
-
With some flooring materials, the installer
is unable to follow the traditional racking guidelines due to available product lengths. Cutting a variety of starter planks from full length planks will assist in “randomizing” joints in products of equal or limited lengths.
-
Locking mechanism floating-floors
1.
There are three basic types of locking systems referred to by how the boards are attached to each other, along the length of the plank/and at the ends of the plank:
a. Angle/angle-locking systems: The plank must be angled upward to engage the locking mechanism along the length
of the plank as well as the ends of the plank before lowering it to complete the connection. This must happen at the ends first (normally along the entire row), then along the length of the planks.
b. Angle/hook-locking systems: The plank must be angled upward to engage the locking mechanism along the length of the plank, but the ends of each plank have a hook lock connection. The ends are not locked in until the next row has been installed.
c. Angle/fold down-locking systems: Also called “single-action locking” as it locks the floor in one single motion often with an audible click sound. The plank must be angled upward to engage the locking mechanism along the length of the plank, but the ends are equipped with
a mechanical locking function that
actually locks the ends in place. Ensure you lock the lengths and the ends
of the flooring together correctly as per manufacturer recommendation of the particular locking mechanism being used.
Any questions please contact us, Word fo Mouth Floors located in Vancouver, BC Canada (Richmond and North Vancouver). www.WordofMouthFloors.com or email hellow@wordofmouthfloors.com or call us at 604-370-8769