
Laminate flooring installation is usually done through the click-lock installation method. Laminate flooring installation is a relatively easy and affordable way to update the look of your home. With a few basic tools and some preparation, you can have a beautiful new floor in no time. In this blog post, we will go over the steps and tools required for a successful laminate flooring installation.
The Process Of Laminate Flooring Installation
1. Prepare The Subfloor
The first step of the laminate flooring installation using click-lock laminate flooring is to prepare the subfloor. The subfloor should be clean, dry, and level. If there are any uneven areas, they should be filled in with a self-leveling compound.
2. Clean The Subfloor
It is also important to ensure that the subfloor is free of any debris or dust. Level subfloor is the number one thing DIY installer does incorrectly. Saving money and avoiding doing proper levelling is the main reason floors fail in the future. Do not skip this step. Floor levelling is vital to a successful installation. Yes, laminate flooring helps hide some unevenness in your subfloor, but follow manufacturer guidelines and improve your subfloor as best you can to improve the chance of a long-lasting floor that doesn’t squeak or fail in the future.
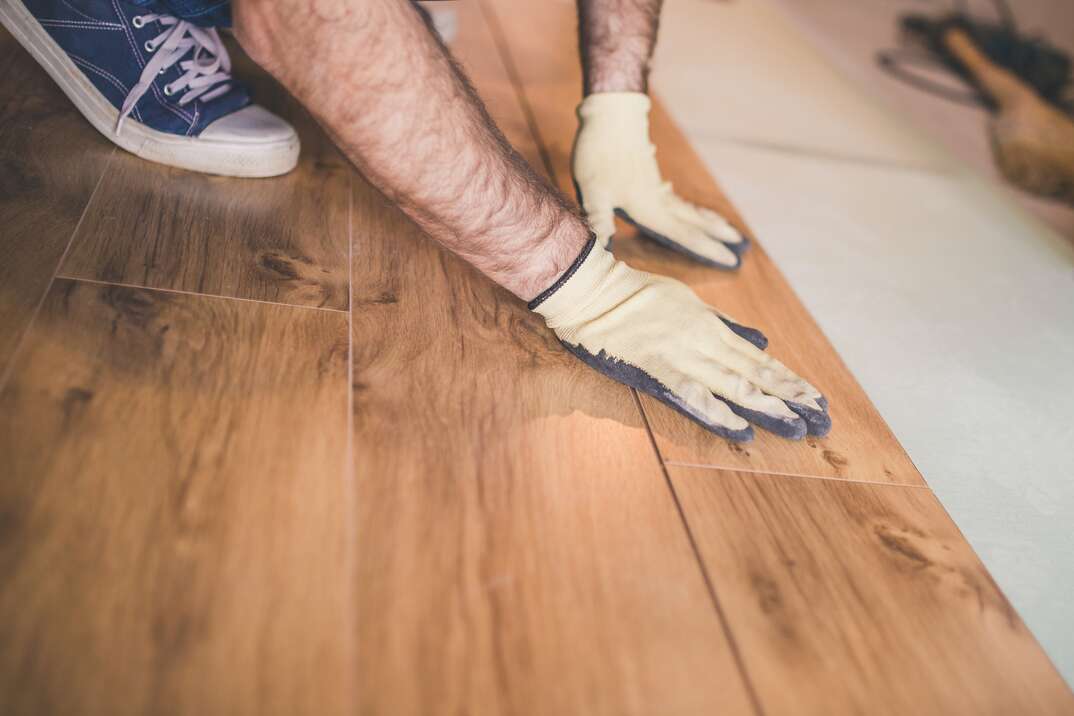
3. Lay Out The Laminate Planks
Once the subfloor is prepared, you can begin to lay out the laminate planks. Before you start the laminate flooring installation, it is important to acclimate the laminate to the room by leaving it in the room where it will be installed for at least 48 hours. With the heat on in the rooms as you will have it for living conditions. This will allow the laminate to adjust to the humidity and temperature of the room.
Tips on Laminate Flooring Installation:
When installing the planks, it is important to start in the corner of the room and work your way out. You will also want to make sure that the planks are placed with the tongue side facing out. To connect the planks, simply align the tongue and groove of the planks and press them together.
Walls are usually not straight. Use a chalk line to set your starter row. If you use the wall as your guide and the wall is not straight, then your installation will not look straight as you work across the room.
Stagger planks as suggested by your installation instruction included with your laminate flooring. Avoid any close gaps from row to row. When doing cuts at the end of a run, avoid any shortcuts of under 12”. Short pieces may not engage and hold their locking system properly. And shortcuts make your installation look less professional. The same concept goes for when you rip a board (long ways). Make sure the rip is over an inch in width, of the locking system, won’t engage. A dry run and some math to calculate what the last plank in the room will look like can be good exercise. You’ll need a pry bar and a pull bar to help with the final row to give you leverage and engage the final row against the finishing wall. As you work through the installation, you will want to ensure that you are leaving enough space around the room's edges for expansion. This can be done by using spacers between the planks and the walls.
5. Check the Humidity Level
To ensure a successful installation, it is important to pay attention to the humidity levels in the room. Laminate flooring is sensitive to humidity and can expand or contract depending on the humidity levels. A humidity level of between 35-55% is ideal for laminate flooring. If the humidity levels are too high, you can use a dehumidifier to lower them.
The tools you will need for the laminate flooring installation include:
- Tape measure
- Saw
- Hammer
- Pry bar
- Tapping block
- Pull bar
- Spacers
- Chalk line
It is also a good idea to have a few extra planks on hand in case of any mistakes or damage during installation.
6. Start The Laminate Flooring Installation
When installing laminate flooring, one of the most important things is to make sure that you are working in a straight line. This can be done by using a chalk line to mark a straight line on the subfloor before you start installing the planks.
Once you have finished installing the planks, it is important to clean up any debris or dust that may have accumulated during the installation. You should also inspect the floor for any gaps or uneven areas and make any necessary adjustments.
Finally, enjoy your new laminate flooring! With proper preparation, the right tools, and a little bit of patience, you can have a beautiful new floor that will last for years to come.
Final Thoughts on Laminate Flooring Installation

Photo: Access Floor
In conclusion, installing click-lock laminate flooring is a relatively easy and affordable way to update the look of your home. With proper preparation of the subfloor, attention to humidity levels, and the use of the right tools, you can have a successful installation. Remember to work in a straight line and leave enough space for expansion around the edges of the room. Finally, enjoy your new laminate flooring!
Other flooring blog articles you may want to read:
THE ULTIMATE GUIDE FOR LAMINATE FLOORING
WATER-RESISTANT LAMINATE FLOORING
MANNINGTON LUXURY VINYL SHEET FLOORING
LAMINATE, VINYL, AND ENGINEERED HARDWOOD FLOORING OPTIONS: WHAT MAKES THEM DIFFERENT?