If you're planning to do a house makeover, vinyl flooring installation can be an enjoyable and perfect DIY project. We'll share in this article some tips that will help you get started if you are not sure where to begin.
This is a guest post by our friend Angela, the opinions are her's and you should always follow the manufacturer's installation guidelines. It is too difficult to ensure all manufacture rules are followed in a general article like this. Below are many great tips, but final word should always, always, be your specific manufacture product installation guidelines.
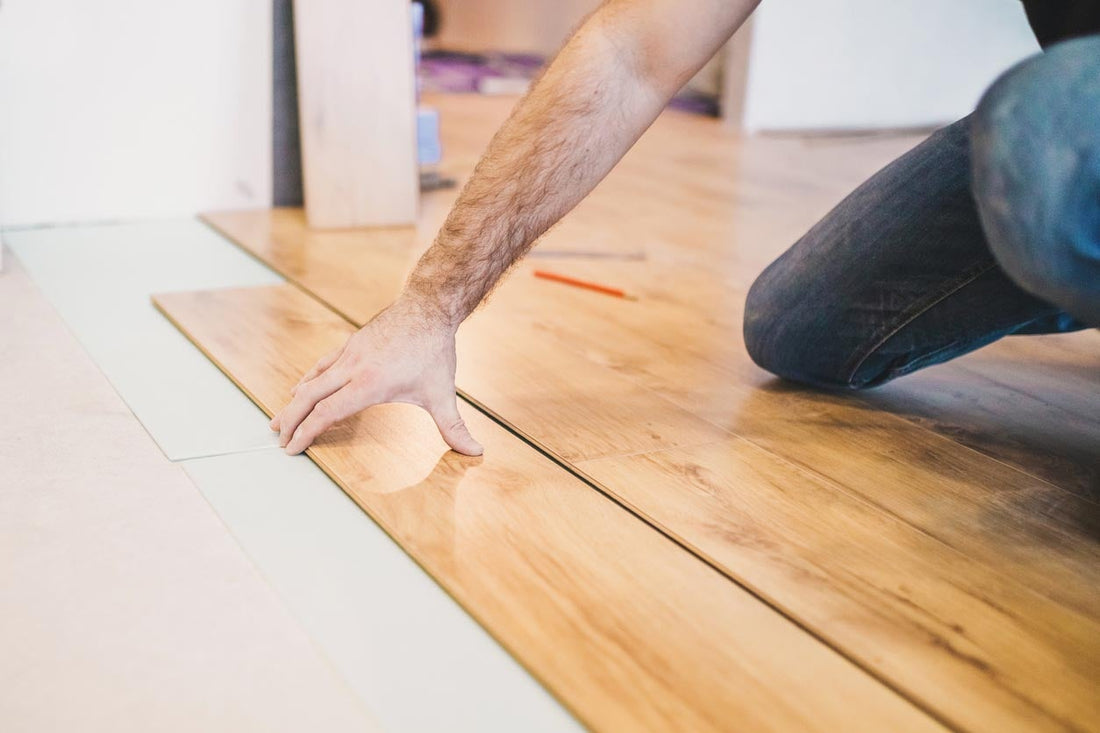
Most of the necessary skills and tools required for vinyl flooring installation are likely to be available to you if you perform some maintenance around the house.

Photo: Flooring America
If you are not confident with your skills, it is recommended that you hire a professional vinyl installer. It is important to remember that even the best vinyl floors can fail if improperly installed.
Firstly, you need to know that vinyl flooring can be installed in three different ways: tongue and groove, peel and stick, and glue down.
One of the greatest advantages of vinyl flooring is its ease of installation. Furthermore, this flooring is low maintenance, waterproof, and resembles hardwood or stone.
We will discuss vinyl floor installation in this article and all the preparation necessary before the vinyl flooring installation.
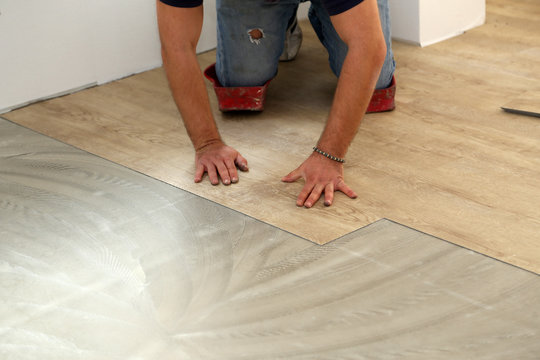
Preparation For Vinyl Flooring Installation

Photo: Viaduct Imports
In order to ensure the success of any vinyl flooring installation, it is necessary to ensure that the subfloor is clean and level. You may need to use a sander, self-leveler, or underlayment in order to accomplish this.
In some cases, vinyl products, such as SPC and WPC, are sufficiently thick to conceal any imperfections in the subfloor. Even so, it is still advisable to level the subfloor in order to prevent transposing, especially when using thinner vinyl products.
It is recommended that you allow the vinyl flooring products to acclimate to the room by allowing them to sit out (unwrapped) in the areas where they will be installed. This method allows the materials to adapt to changes in temperature and humidity in order to avoid future problems.
Leveling for Vinyl Flooring Installation
It is important to ensure that the surface of the concrete subfloor is as smooth as possible before installation. You may need to sand down bumps and fill in dents. In order to ensure the best results, make sure the surface is ready before using a self-leveling compound since it dries very quickly. Ceramic and porcelain tiles are better suited to thin-set mortar.
You should use a bubble level to check the plane's level.
Baseboards and Openings for Vinyl Flooring Installation
All baseboards should be removed before installation and should be kept dry and clean until installation is complete. You should also leave enough space between the floor and the door.
It might be necessary to use a circular saw, or a tooth saw to cut the doorjamb.
Cleaning During Vinyl Flooring Installation
There is a possibility that dust and debris may interfere with the locking mechanism of vinyl floors. As a result, adhesives may become less effective.
Therefore, it is recommended that the subfloor be scourged before installation. Do everything you can to make the area as clean as possible, such as sweeping, mopping, vacuuming, and degreasing.
During the installation process, particles may get into the surface again. Thus, it is advisable to keep the vacuum nearby.
Measurements for Vinyl Flooring Installation
When installing vinyl planks, it is important to determine the direction of the flooring first. Next, divide the width of the room by the width of the planks. It is the result of this calculation that determines the number of planks required to cover the room. The same applies to vinyl tiles.
With vinyl sheets, it is recommended to leave at least three inches of space on each edge.
An in-depth discussion of vinyl flooring measurement can be found here.
Different Methods of Vinyl Flooring Installation
Tongue and Groove Vinyl Flooring Installation Method
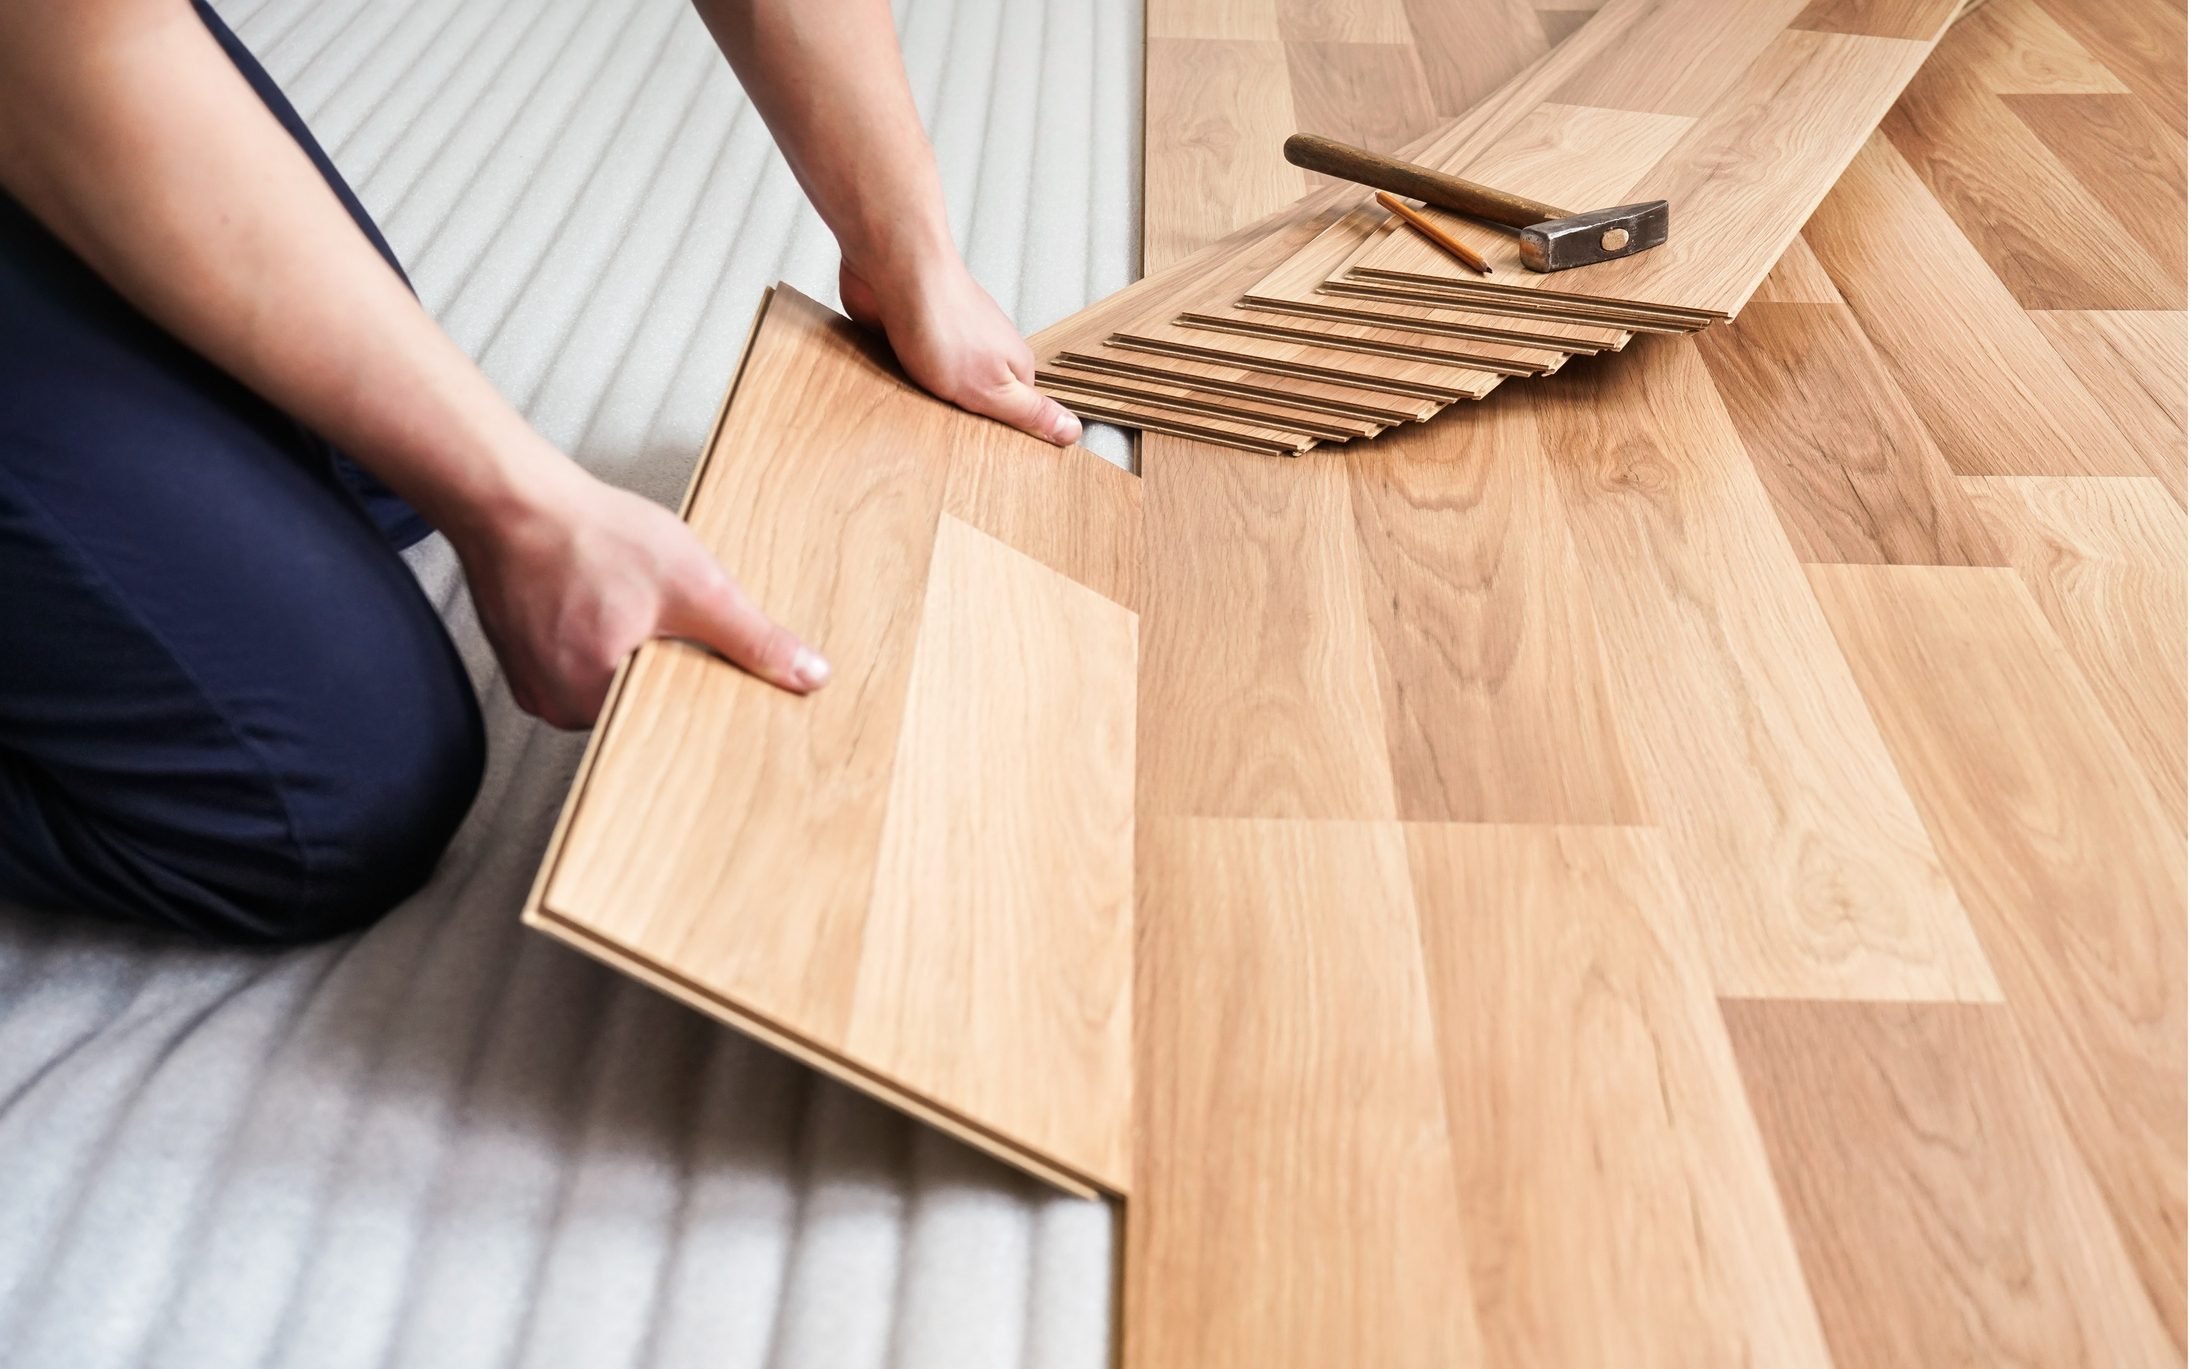
Photo: The Family Handyman
There are many luxury vinyl planks and luxury vinyl tiles available that use a tongue and groove locking mechanism. This is one of the easiest methods of installation, which requires no adhesive.
Any vinyl flooring installed using the tongue and groove method is referred to as a "floating floor" since it does not stick to the subfloor. If you have an uneven floor, it is best to have vinyl flooring made of planks or tiles that float. This is due to the fact that it does not press against the subfloor and forms a plane of its own.
Choose a Pattern - Various flooring patterns can be created using vinyl planks and tiles without the need to cut them. You should be aware, however, that the pattern can have an impact on the overall look and feel of the room.
The most common patterns include grids, offsets, diagonals, herringbones, staggers, and weaves.
The use of vinyl products from separate boxes should also be considered in one area. By doing so, any variation will be evenly distributed throughout the room.
Cutting Vinyl Plank or Tile - Vinyl products can be cut in a variety of ways. All you need are the appropriate tools and a high level of skill. Before making any changes, it is strongly recommended that you review the instructions provided by the manufacturer.
Score and Snap - A T-square can be used to draw straight lines on the vinyl surface. Make a light cut along the line with your utility knife. You may have to repeat this process several times before you can bend the plank/tile in half along the score line.
Use a steady table or your knee to leverage your snap.
Tile Cutter - It is possible to buy or rent tile cutters for single use at hardware stores and home improvement centers.
You only need to mark the area where the plank/tile needs to be trimmed and pull the lever of the cutter.
Circular Saw - You should only use a circular saw if you have taken the training. It is important to work slowly in order to achieve a clean cut.
Installation Process
- The planks or tiles should be set on one corner and work from left to right. You should allow a 0.95cm clearance from the wall in order to allow for expansion. Every few rows, place a spacer around the edges to maintain the distance.
- Ensure that the first row is interlocked by tongue and groove and that the seams are aligned (unless this is the pattern you intend to create).
- When laying the flooring, use a rubber mallet to gently tap on the planks and tiles. Usually, vinyl flooring comes with a tapping board.
- The plank/tile should be cut using one of the methods described earlier before coming up against a wall.
- You may start the next row using any leftovers at least 6 inches long. By doing so, the flow will appear more natural. You should also avoid aligning the seams between rows.
- To ensure that the planks interlock securely in the succeeding rows, set them at a slight angle.
- Make sure that the seams are properly fitted.
Finishing - Reinstall the baseboards after the flooring has been installed. Use mouldings to conceal expansion gaps.
Peel & Stick Vinyl Flooring Installation Method
You can update your space quickly and easily with peel & stick vinyl products. This is the best choice if you do not have a lot of time for installation.
There is, of course, still some preparation to be done.
Choose a Pattern - Using the same strategy you would use for rigid vinyl products, plan the direction of peel & stick vinyl planks/tiles. Thus, it is important to mix planks or tiles from different boxes, make sure that the last row isn't too thin, etc.
In order to create a checkered pattern with peel & stick vinyl, it is recommended that you begin from the center of the pattern. As with rigid vinyl planks and tiles, you can install them in a similar manner for staggered, diagonal, etc. arrangements.
Cutting Peel & Stick Vinyl - The peel-and-stick vinyl products can be cut using a utility knife or a pair of scissors.
A T-square can be used to create a straight line along which the knife will pass. If the shape is irregular, you may find it easier to cut with shears. Vinyl peel & stick can usually be cut with basic hardware tools.
Installation Process
- Make sure the arrow on the back of the first plank/tile points in the correct direction before setting it.
- Put the plank/tile on the surface and peel off the paper covering the adhesive. Then, firmly press it into place.
- In the same manner, as more rigid options, use leftovers that are at least 6 inches in length when starting a new row.
- You may use any one of the methods above to cut the plank/tile that extends to the wall.
- Once the last piece has been installed, use a 100 lb. roller to press the flooring onto the subfloor.
Finishing Touch - Put the baseboards, mouldings, and doors back in place. For peel and stick vinyl flooring, it is generally recommended that you leave it untouched for a few days. Be sure to read the instructions provided by the manufacturer.
Sheet Vinyl Flooring
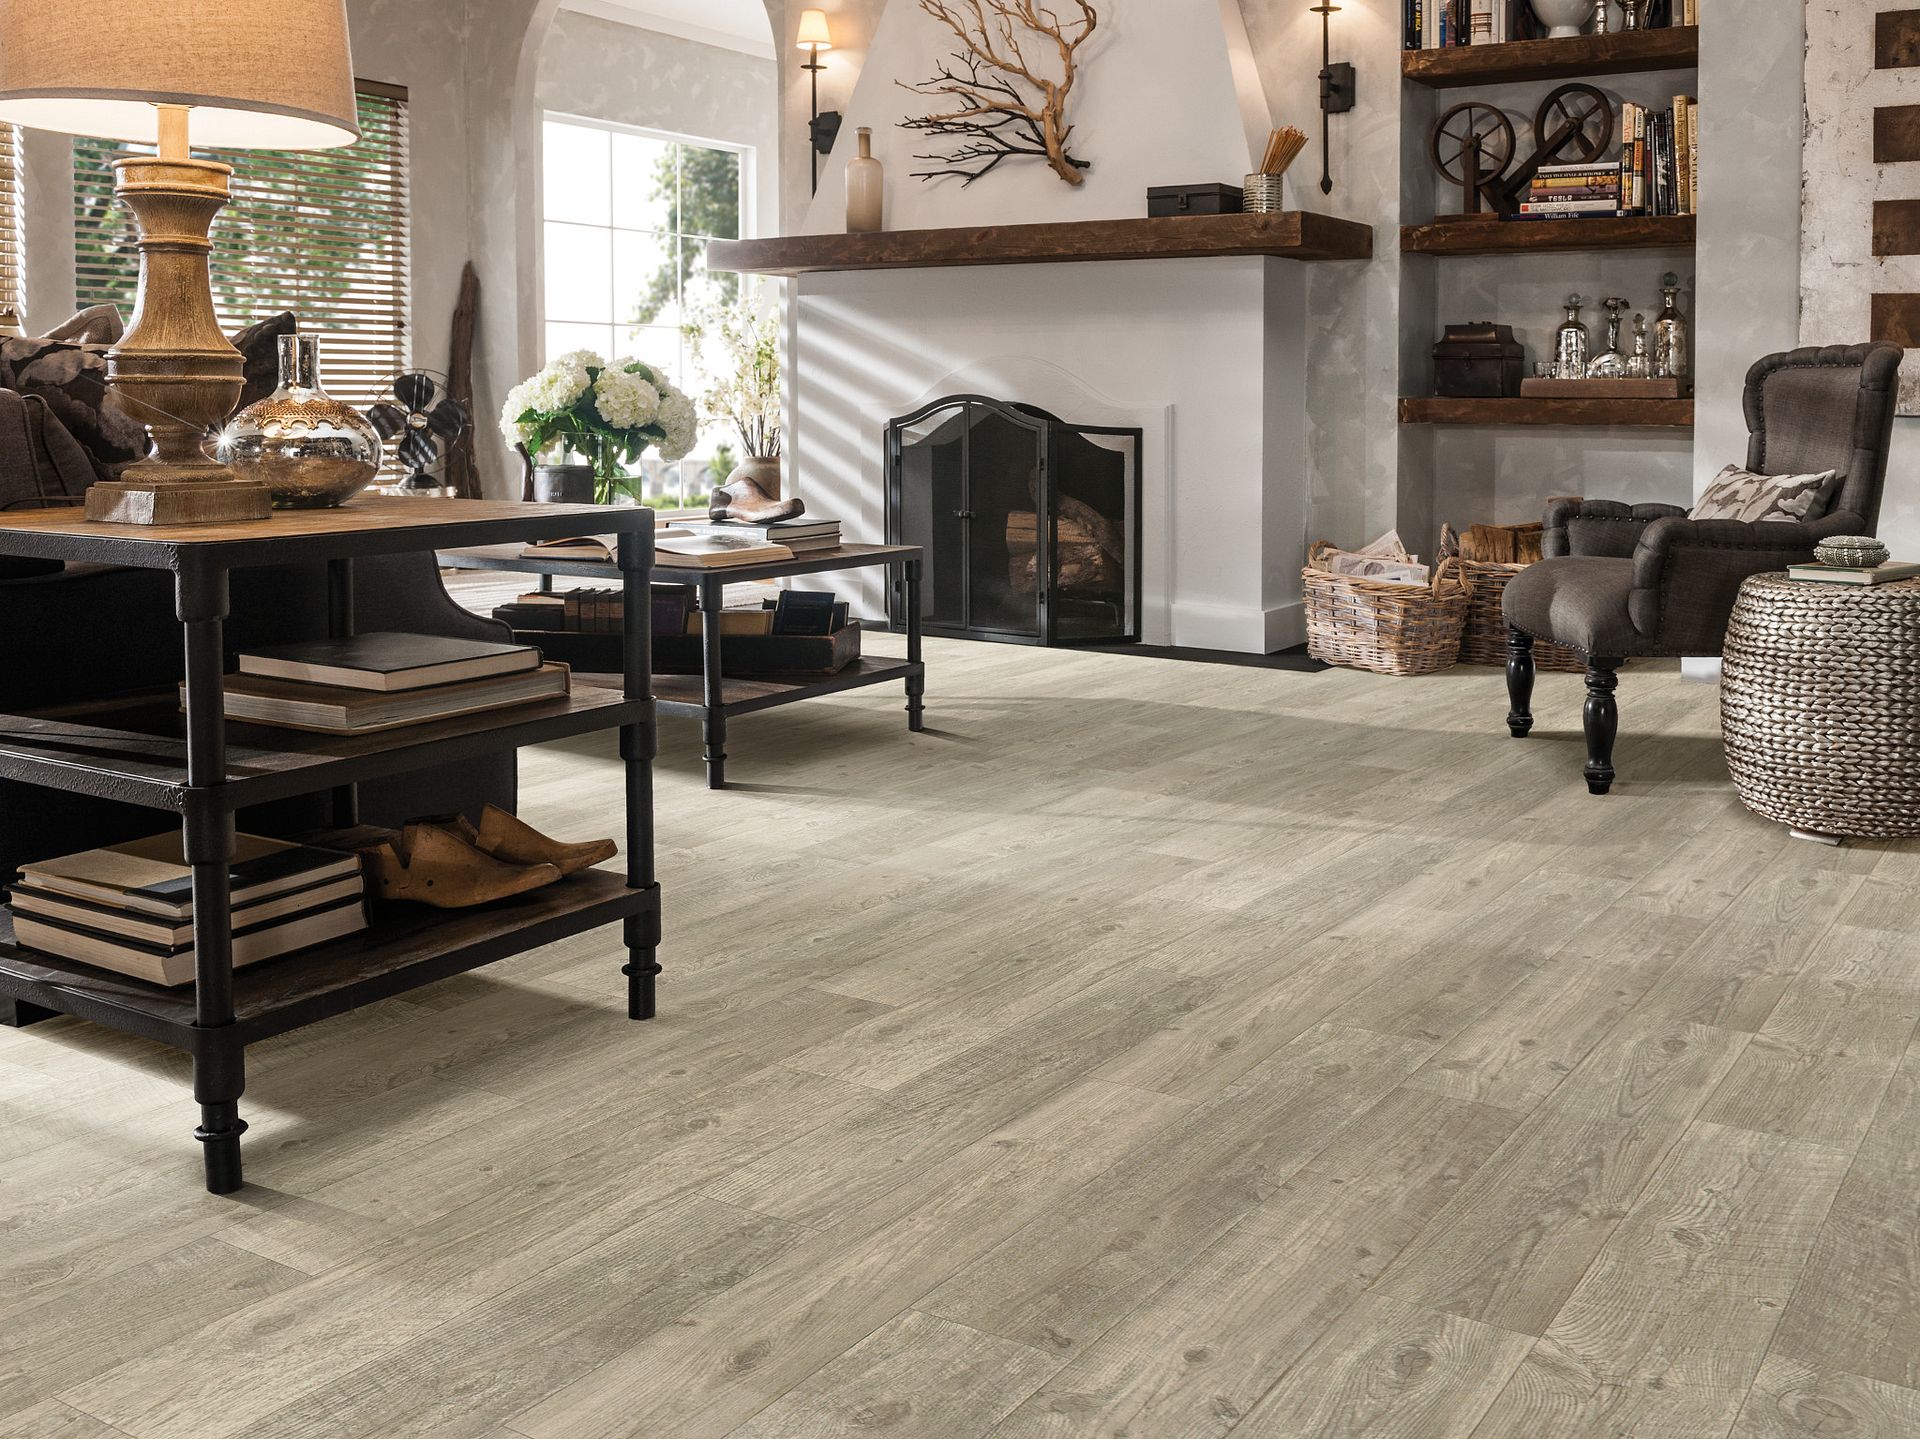
Photo: Shaw Floors
Sheet vinyl flooring can be installed using either glue down or modified loose lay installation techniques.
Projects differ from one another. It is, therefore, possible that some installation techniques will be more effective than others in certain circumstances. Installations that are loosely laid are slightly temporary and can be completed by DIY enthusiasts with some experience. By contrast, glue down installations require professional installation and are more permanent.
It is still recommended that both installations are performed by a professional. This is due to the fact that vinyl sheets need to be precisely cut. However, if you are confident with your skills, we can provide you with a guide for both types of installations.
You may want to consider sheet vinyl if you are looking for vinyl flooring for the kitchen due to its limited seams.
This is a list of vinyl sheet installation tips you should know before you go.
- Decide where the seams should meet and in which direction the sheets should go.
- Let the vinyl flooring acclimate for 24 to 48 hours after it has been unrolled in the designated room.
- After installing vinyl flooring, it should be left for another 24 hours. It is not advisable to move any fixture or walk on it.
- A sharp utility knife should be used to cut the vinyl sheet. Ensure that the sheet is unrolled first to avoid skewing the corners.
- Make sure that radiant heating is turned off prior to installation.
How to Use the Loose Lay Technique for Vinyl Flooring Installation
- Roll out the sheet vinyl and place it in the designated area. The sheet must be square in the room. If there is excess, let it run up the wall.
- Make sure you cut around any objects in the room, such as corners, pipes, and toilets, with a sharp utility knife. You should leave a 0.31cm to 0.63cm gap between the sheet and the subfloor so that the sheet lies flat.
- Make sure the excess vinyl is cut along the walls, leaving a small gap to avoid bumping. Different vinyl brands have different expansion gaps. Please refer to the instructions provided by the manufacturer in this regard.
Reminder:
If you use the loose lay method, there should only be one big seam. Multiple seams are needed in larger spaces, which requires a different installation procedure.
How to Use the Modified Loose Lay Technique for Vinyl Flooring Installation
Similarly, the modified loose lay technique is straightforward, but it provides greater stability. To complete the project, you will need a silicone sealant, a floor roller of 100 pounds, and double-sided vinyl tape.
- In the same way as with loose lay, unroll the sheet and cut it to the required size.
- Wrap double-sided vinyl tape around the perimeter of the sheets and roll them back along the perimeter. The tape should be pressed against the subfloor with a flat object.
- Unroll the vinyl sheet slowly onto the tape after peeling off the backing. Apply the tape to the sheet section by section and press firmly.
- A silicone sealant can be applied around the edges of a room prone to moisture in order to prevent moisture from seeping under the sheets.
- Make sure the vinyl sheet is firmly bonded to the subfloor by rolling it with a 100-pound roller.
Watch this video to learn more:
How to Use the Glue Down Technique for Vinyl Flooring Installation
When the vinyl sheet is glued down to the subfloor, vinyl sheet becomes fully adhered. As a result, it provides a more stable flooring surface. It is possible to choose between a resealable or permanent bond using this technique.
For a permanent bond, you will need the following materials:
- Vinyl sheet adhesive
- 100 lb floor roller
-
Notched trowel
- Make sure the subfloor is thoroughly cleaned before bonding. Concrete subfloors need to be smoothed and leveled, while wood subfloors may need underlayment.
- Make sure the vinyl sheet fits the dimension of the room by rolling it out and cutting it to size. Make sure that there is a small gap between the sheet and the wall or other objects. Line up the seams.
- Once the sheet has been placed over the subfloor, it should be rolled back by half. You should draw a chalk line so that you know where to stop applying the adhesive.
- Check the adhesive's condition by opening a small portion and taking a small sample. Do not forget that this is a permanent bond, so you will want to ensure that it is done the first time correctly. Make sure that the adhesive is evenly spread using a notched trowel.
- The vinyl sheet should be unrolled as soon as the adhesive has been applied. Be careful not to drop or lay over the adhesive in order to avoid air bubbles.
- Using a 100-pound floor roller, press the vinyl firmly to secure the bond. The best method of removing trapped air is to begin in the center and work your way toward the edges.
- You should repeat these steps for the second half of your vinyl sheet flooring.
-
Install the baseboards and mouldings again.
If you are going to use a resealable bond, you will need the following:
- Adhesive
- Hand seam roller
- Soft-bristled push broom
-
Paint roller
By using this technique, you will be able to remove and reinstall the sheet vinyl as needed. The difference between the adhesive and the permanent bond is its dryness level before contact with the sheet
- Ensure that the subfloor is thoroughly clean and dry before installing the flooring.
- Prepare the vinyl sheet by rolling it out and cutting it to fit the room. Ensure that all seams are aligned.
- When applying the adhesive, fold the vinyl sheet in half and draw a chalk line to indicate where to stop.
- The adhesive should be applied to the subfloor using a paint roller. You should leave it to become dry-tacky.
- Roll the vinyl sheet slowly over the subfloor. Ensure that it is not laid or dropped over the adhesive in order to avoid air bubbles.
- Press the vinyl sheet against the subfloor using a soft-bristled push broom. Begin at the centre and work your way outward. You may use a push broom to reach difficult-to-reach areas.
- Follow the same procedure for the other half of the vinyl sheet.
- Install the baseboards and mouldings again.
Please note that these are only general guidelines. It is always advisable to follow the instructions provided by the manufacturer. Whenever you are unsure of what to do next, it is advisable to consult a professional vinyl flooring installer.
Other flooring blog articles you may want to read:
BEST BUY VINYL FLOORING | COMPTON SPC VINYL
FACTORS TO CONSIDER BEFORE INSTALLING VINYL FLOOR
LAMINATE, VINYL, AND ENGINEERED HARDWOOD FLOORING OPTIONS: WHAT MAKES THEM DIFFERENT?